This article provides step-by-step instructions on installing FreeCAD 0.19.x AppImage on a personal computer running on Ubuntu 21.04. An AppImage is a single binary file but works like a Docker image in that it containerises the same working environment as the author originally intended. Since an AppImage comes with all dependencies and configurations, it will run on most Linux distributions without further modifications (See docs.appimage.org for more information).
The instructions given are for a Ubuntu 21.04 system, but it should also work for Ubuntu 20.04 and other Ubuntu-compatible distributions with Pop!_OS inclusive.
Preparation
1: Get the latest FreeCAD 0.19.x AppImage for Linux from https://www.freecadweb.org/downloads.php.
Setup & initial configuration
Prepare a dedicated package folder for FreeCAD under your HOME directory (e.g. '~/FreeCAD/').
$ cd ~/FreeCAD/ (1)
| 1 | The prompt symbol $ indicates that you are typing at a terminal emulator (e.g. Ubuntu Terminal). |
Move the AppImage file to the package folder.
$ mv ~/Downloads/FreeCAD_0.19-24291-Linux-Conda_glibc2.12-x86_64.AppImage .
Make the file "executable" by chmod +x and create a symbolic link in the 'usr/local/bin' folder as freecad:
$ chmod +x FreeCAD_0.19-24291-Linux-Conda_glibc2.12-x86_64.AppImage
$ sudo ln -s ~/FreeCAD/FreeCAD_0.19-24291-Linux-Conda_glibc2.12-x86_64.AppImage /usr/local/bin/freecad
Double-check the installation by the accessibility:
$ which freecad
/usr/local/bin/freecad
$ ll $(which freecad)
lrwxrwxrwx 1 root root 75 Jul 26 12:50 /usr/local/bin/freecad -> /home/hawk/FreeCAD/FreeCAD_0.19-24291-Linux-Conda_glibc2.12-x86_64.AppImage*
To launch FreeCAD, enter from a terminal:
$ freecad &
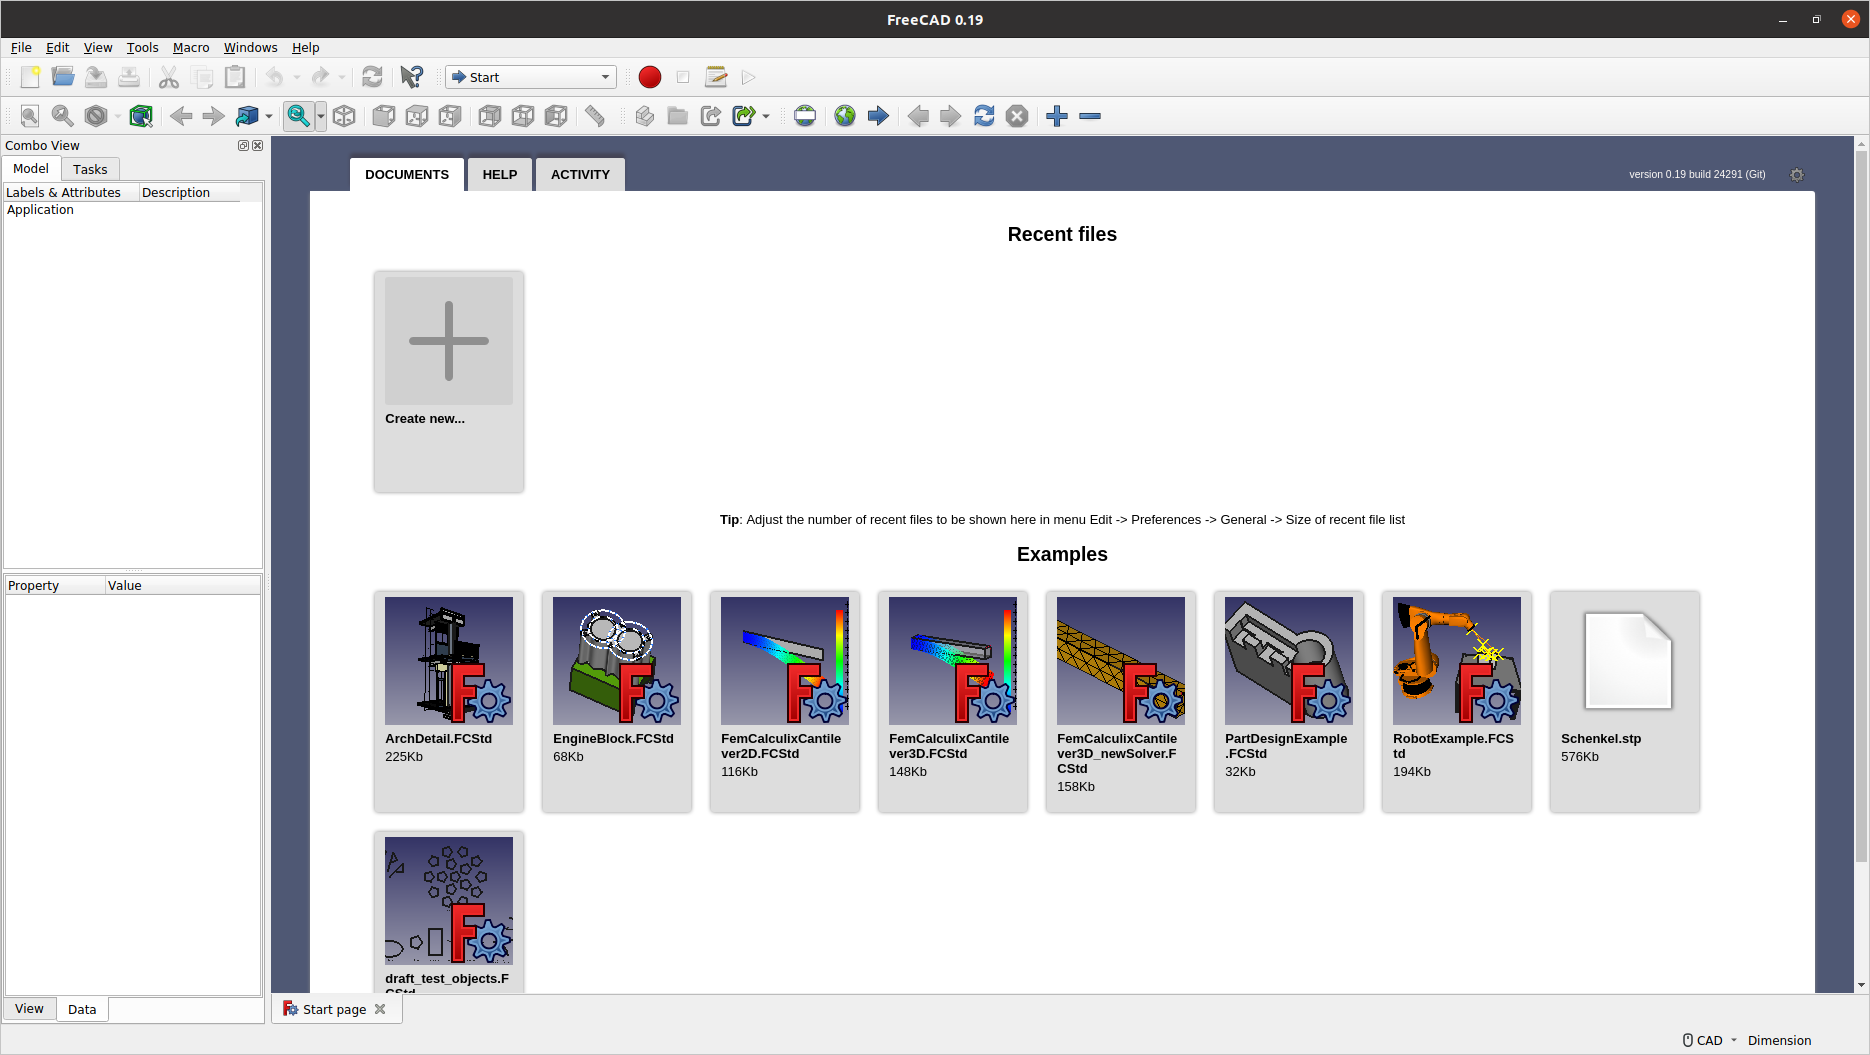
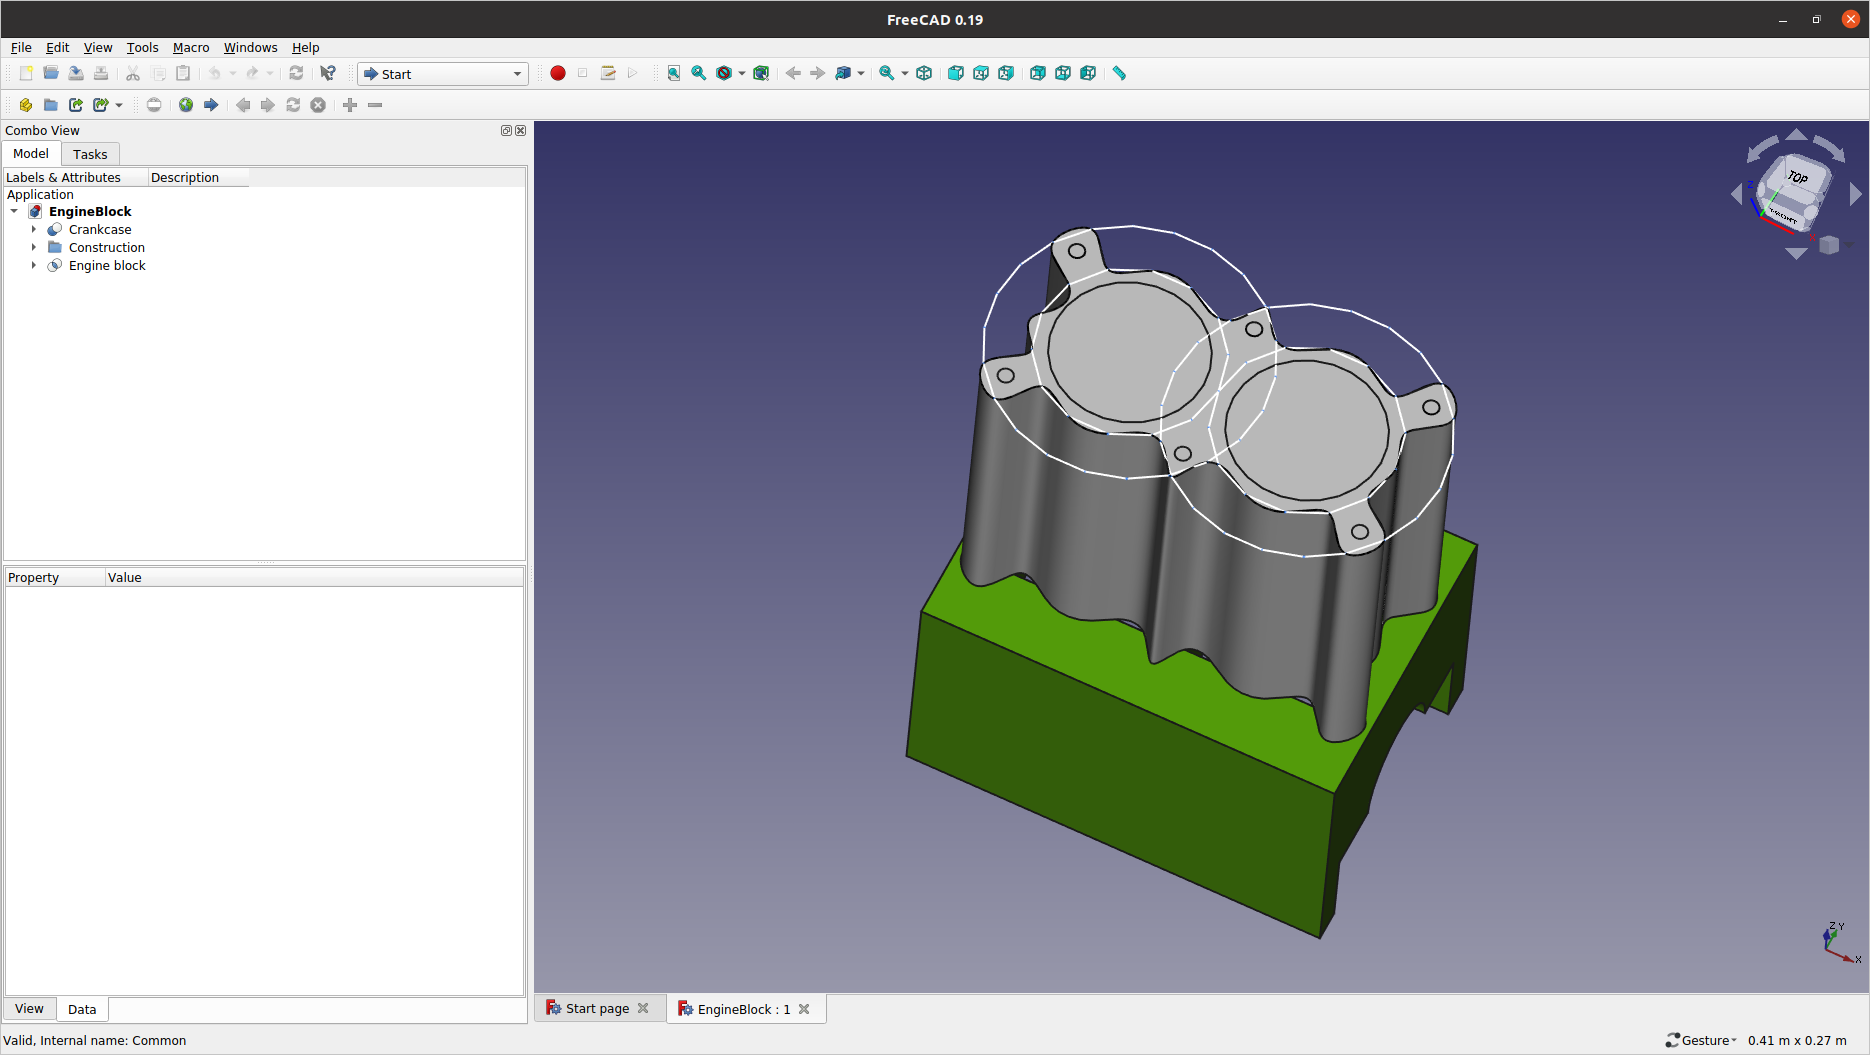
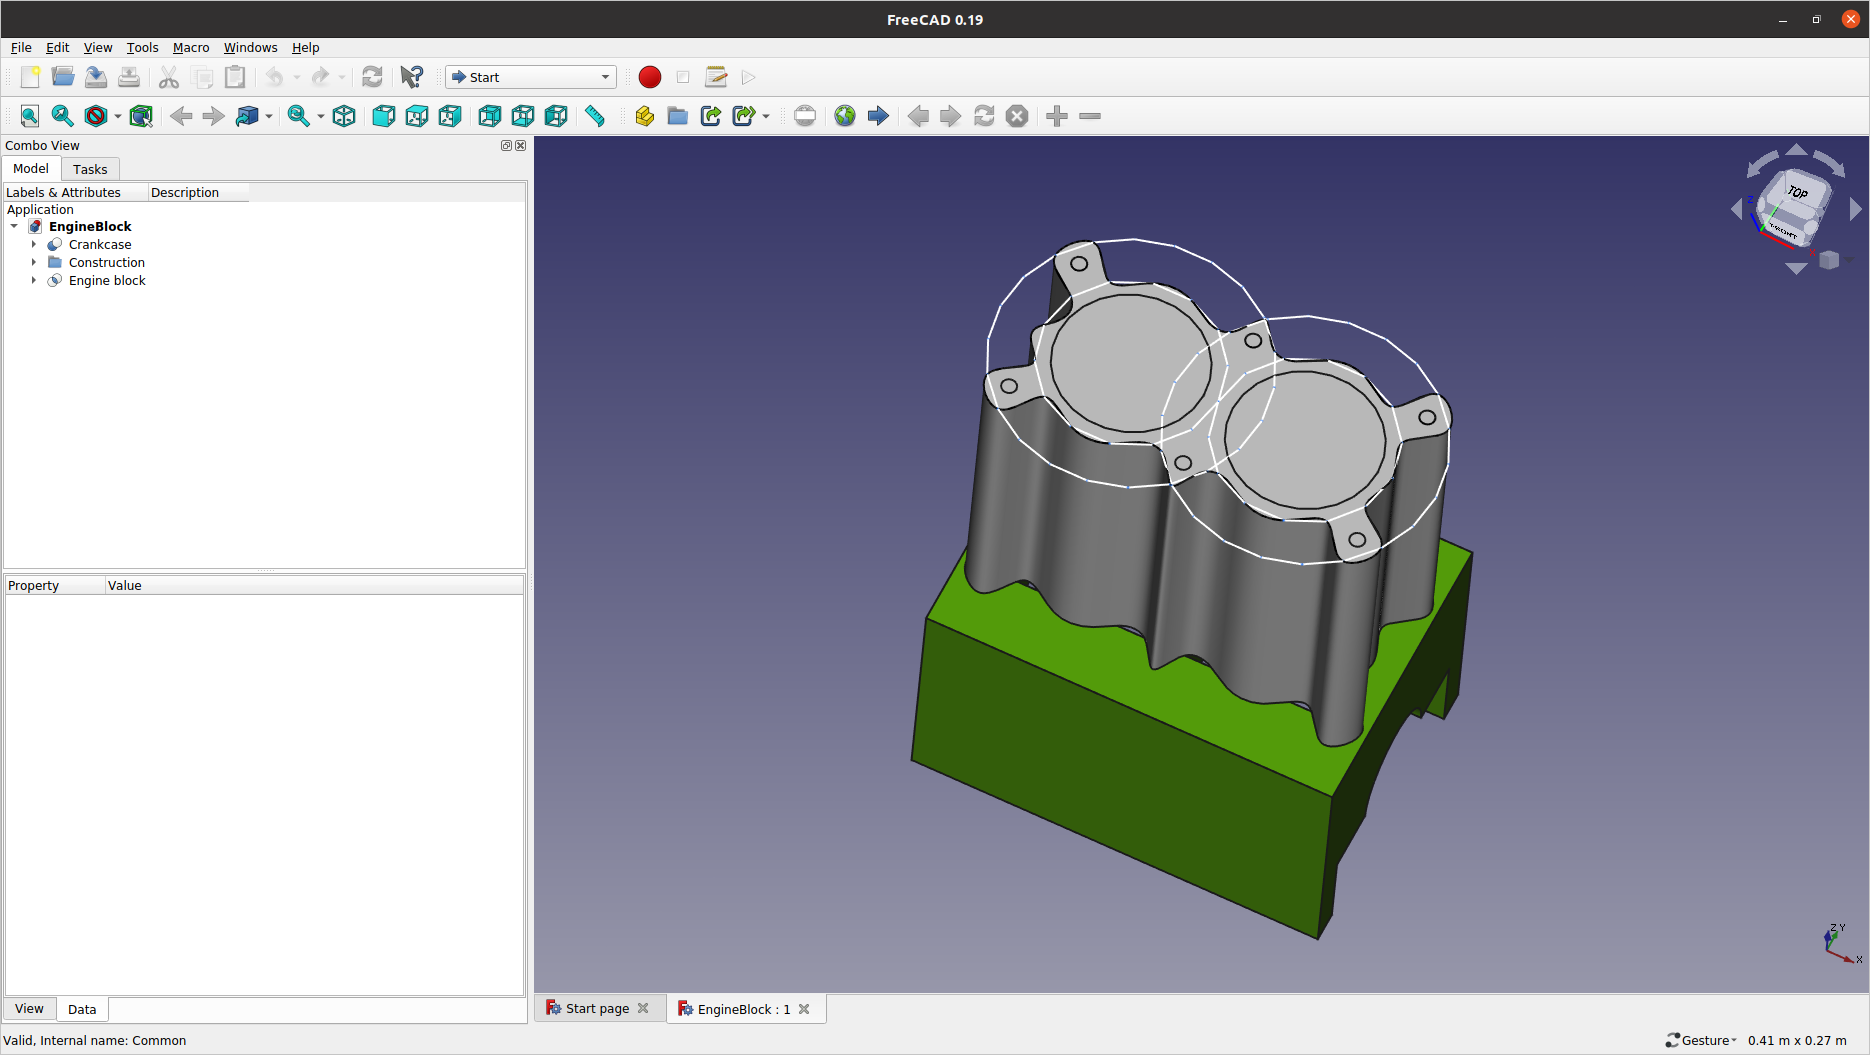
From the Start page, try opening one of the example models. Right-click on the graphics screen to select . Under this scheme, mouse operations are as follows:
-
Left button click: selects a single entity (e.g. a vertex, an edge, a face, etc.)
-
Left button double-click: selects the entity in the highest topological hierarchy (for example, the body containing a selected edge)
-
Left button pressed: rotates the viewport
-
Right button click: opens the FreeCAD context menu
-
Right button pressed: moves the view laterally (i.e. panning)
-
Middle mouse click: centres the view around the clicked entity
-
Mouse wheel: zooms in and out the view.
You can also control the view using the Keyboard Navigation keys:
-
Ctrl++ and Ctrl+-: zooms in and out, respectively
-
The arrow keys, ◄ ► ▲ ▼: shifts the view left/right and up/down
-
Shift+◄ and Shift+►: rotates the view by 90 degrees around the screen’s normal axis (i.e. z-rotation)
-
The numeric keys, 0 1 2 3 4 5 6: there are seven (7) pre-defined views, that are, Isometric, Front, Top, Right, Rear, Bottom, and Left.
-
Pressing V then F: sets the view to fit the visible object(s)
-
Pressing V then O: sets the camera in Orthographic view
-
Pressing V then P; sets the camera in Perspective view
-
Pressing and holding Ctrl: allows you to select more than one entity (i.e. multiple selections).
To exit from FreeCAD, select or click the window close button (x).
Post-installation configuration
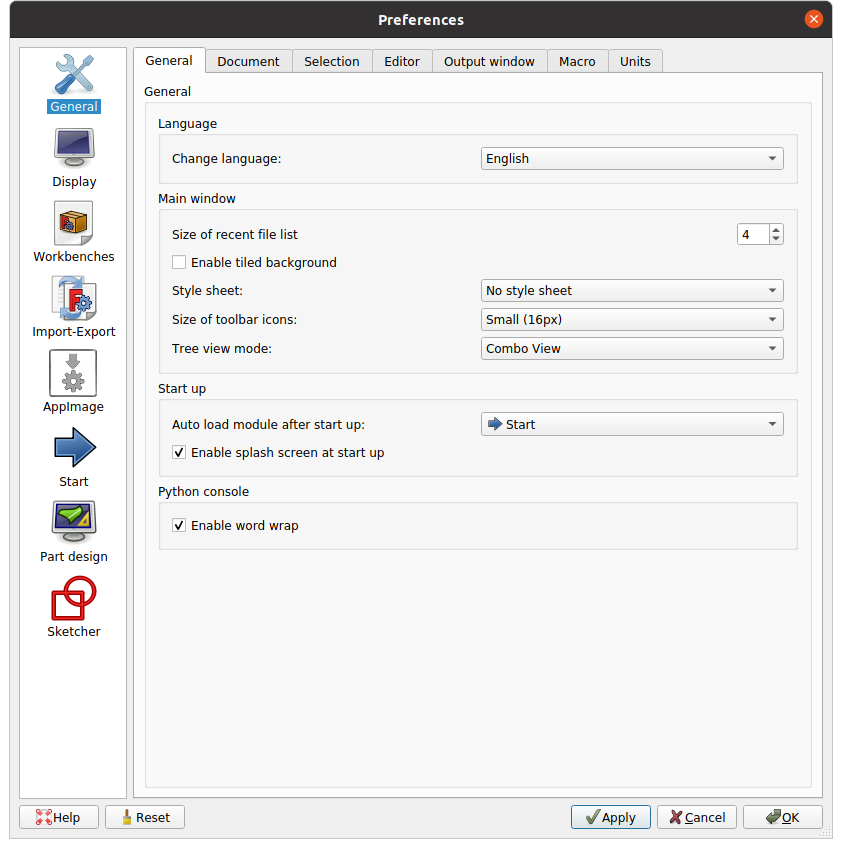
As is not uncommon in most feature-based CAD tools, FreeCAD GUI (Graphical User Interface) has many toolbar icons. You may reduce the size of the toolbar icons so that more icons be visible at once.
Visit the menu, and select Small (16px) for the Size of toolbar icons (from the Main window section).
Also, you may relocate the View toolbar:
from the default position (the forefront of the second row) to the rear end of the first row. It will allow more room for each workbench toolbars — especially for the FEM/CFD modules — to take the space in the second row.