This article provides step-by-step instruction on installing ParaView 5.9.x binary package on a personal computer running on Windows 10.
The ParaView binary package for Windows includes the ParaView GUI (Graphical User Interface) client, pvpython, pvserver, pvbatch. Versions with MPI in the installer name require MS-MPI.
Preparation
1: Get the latest Microsoft MPI (aka MS-MPI) from https://docs.microsoft.com/en-us/message-passing-interface/microsoft-mpi and install it. MS-MPI is a Microsoft implementation of the Message Passing Interface standard for developing and running parallel applications on the Windows platform.
2: Get the latest ParaView 5.9.x binary package for Windows from https://www.paraview.org/download/.
Setup & initial configuration
Installing MS-MPI
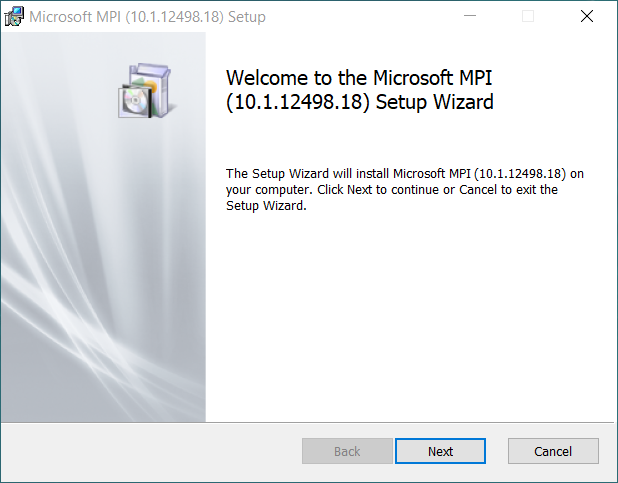
Run the '.exe' set-up file as administrator.
1) Click Next.
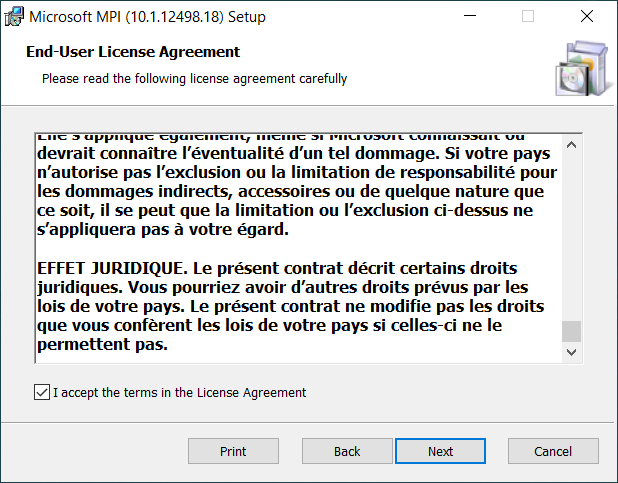
2) Read through the license terms & conditions. Click Next — if you agree.
3) With the default destination folder accepted, click Next.

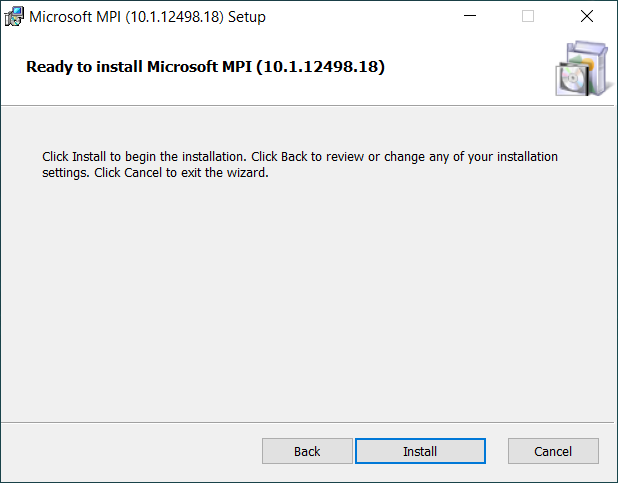
4) Click Install to proceed.
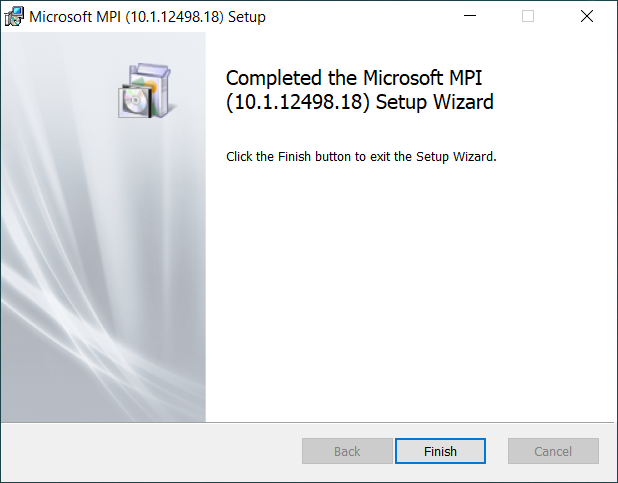
5) Click Finish to exit from the Setup Wizard.
Installing ParaView
Run the '.exe' set-up file as administrator.
1) Click Next >.
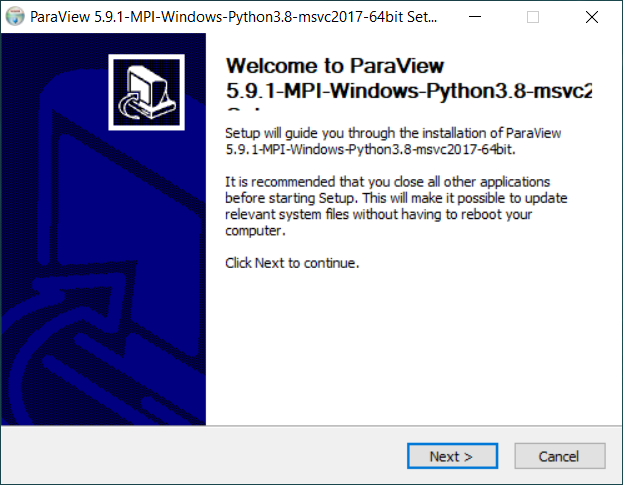
2) Read through the license terms & conditions. Click I Agree — if you agree.
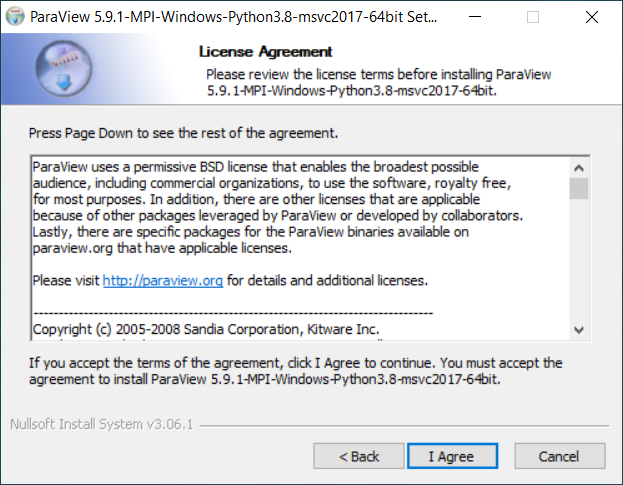
3) Create a package folder (e.g. 'ParaView') under your USER directory. Set the destination with it and click Next >.
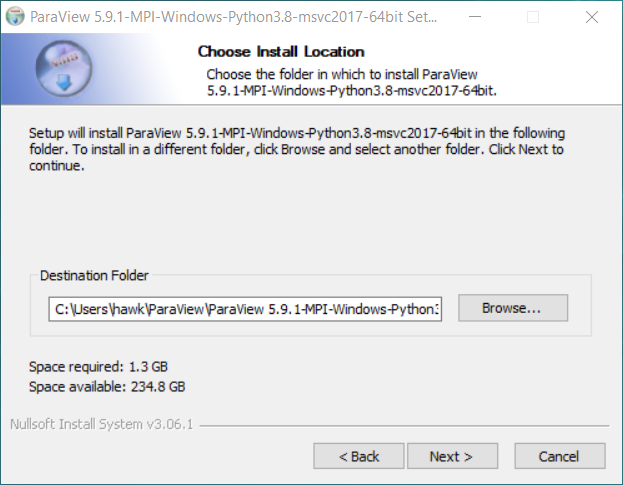
4) Click Install to proceed.
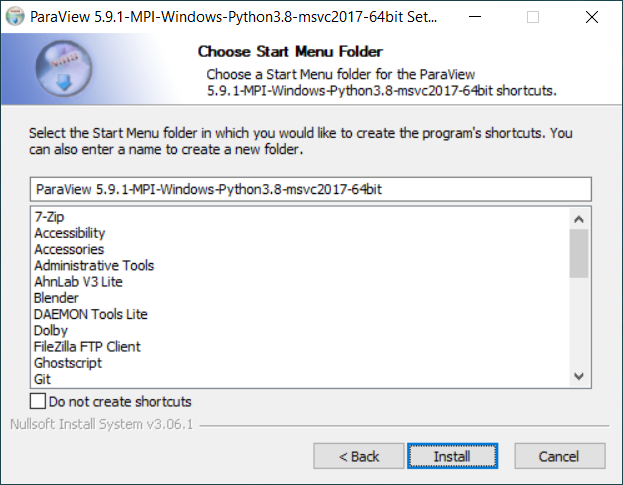
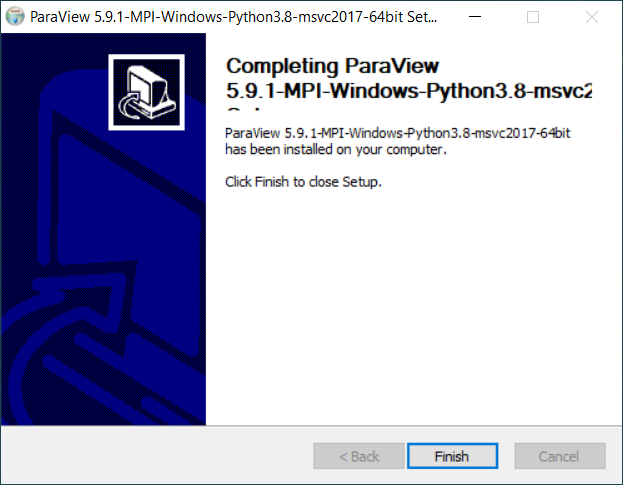
5) When the installation is complete, click Finish to exit from the Setup Wizard.
Path to ParaView
Like most Windows applications, ParaView for Windows can be launched from the Start menu or using the short-cut icon placed on your Desktop or Taskbar. But to be able to start it from a PowerShell or a WSL terminal, you need to have the correct path registered to your Environment Variables.
Using File Explorer, locate your ParaView’s 'bin' directory and copy its full path to the clipboard — i.e. using right-click context menu or by pressing Ctrl+C.
-
C:\Users\hawk\ParaView\ParaView 5.9.1-MPI-Windows-Python3.8-msvc2017-64bit\bin
We will now add the clipboard content (i.e. the path) to the User Path variable:
1) Type from the Windows Search tool a few first characters of "edit the system …" and press Enter as soon as it picks up the Edit the system environment variables menu.
2) Go to the Advanced tab to click the Environment Variables… button.
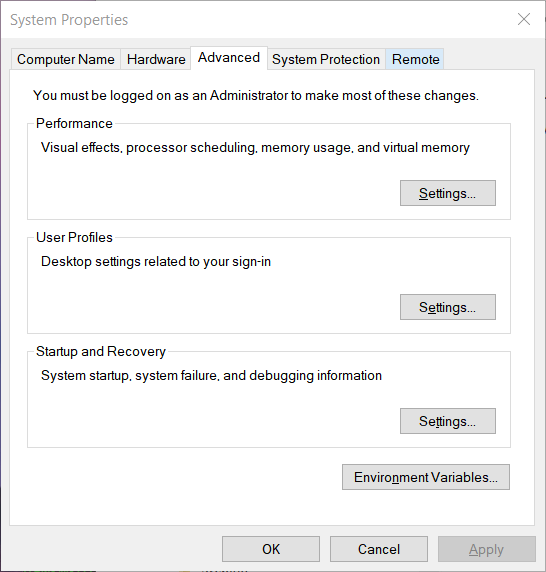
3) Double-click the Path line. Create a new entry by clicking New, and then paste the clipboard content — using the right-click context menu or by pressing Ctrl+V. Click OK when done.
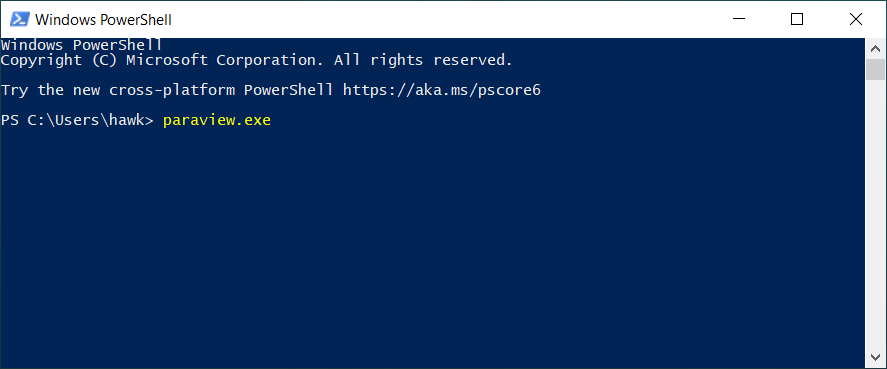
Now, open a PowerShell terminal and enter paraview.exe — with the '.exe' extension inclusive — to test-run ParaView for Windows.
On successful launch, try loading an example data and check whether your ParaView graphics works as expected. The default mouse buttons are as follows:
-
Left button: rotates the viewport
-
Middle button: moves the viewport laterally (i.e. panning)
-
Right button: zooms in/out the viewport; the same effect using the mouse wheel.
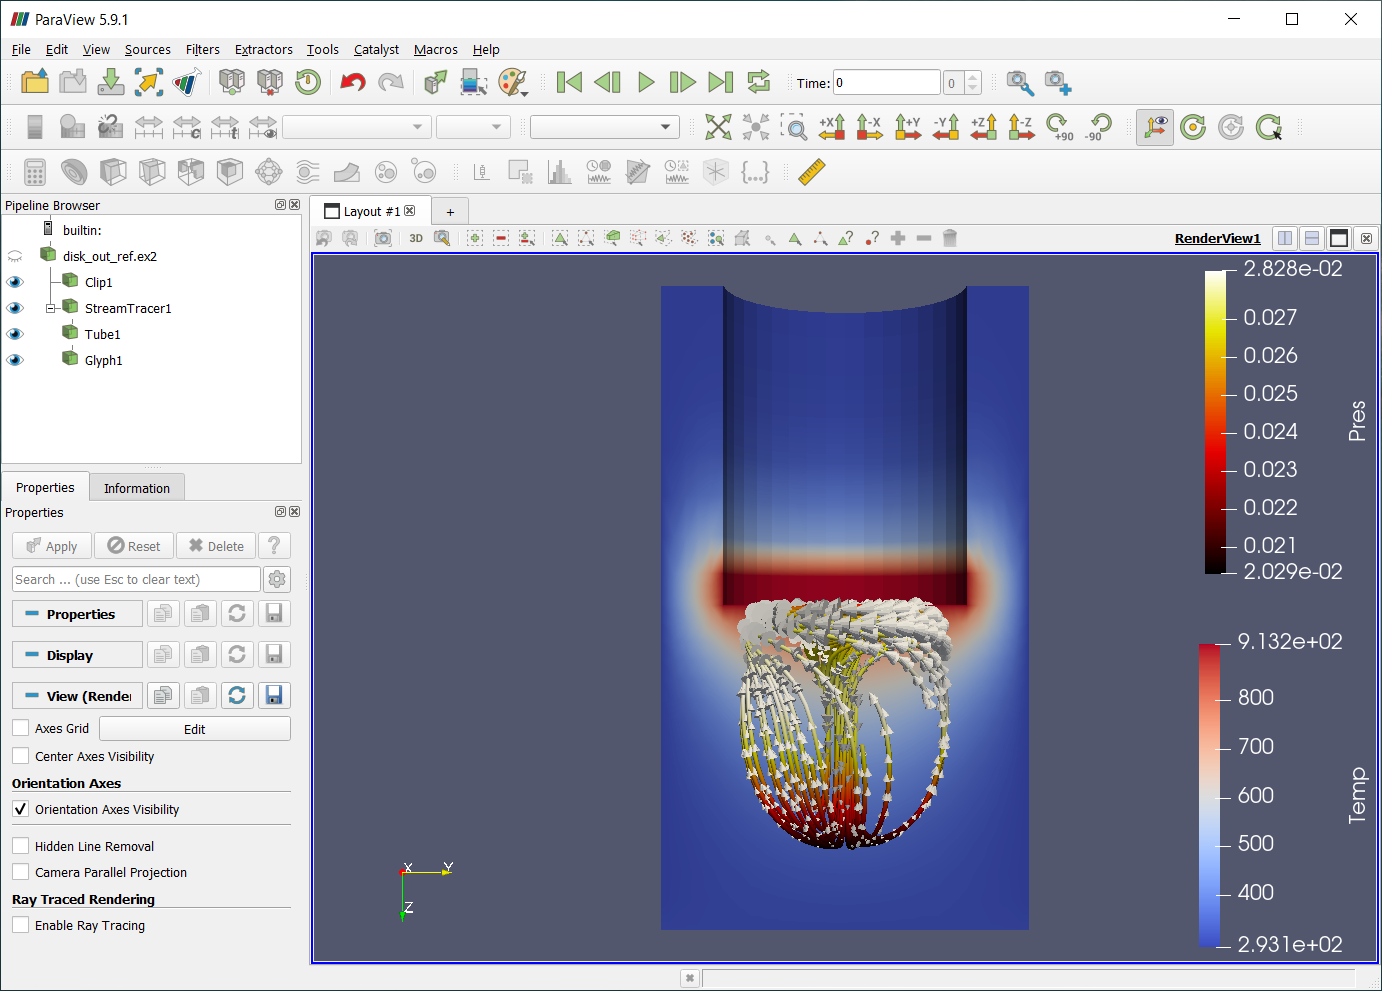
To exit from ParaView, select the menu — or click the window close button (x).
You can open the Example Visualisations panel anytime from the menu.
|
Post-installation configuration
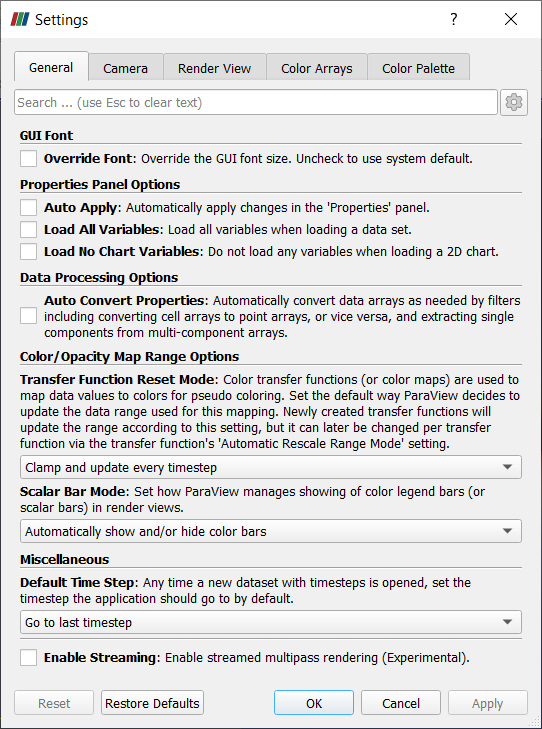
Edit > Settings…
In typical visualisation tasks, I would be interested in a later stage of a field variable — i.e. from a given initial condition. Setting the Default Time Step with the Go to last timestep option allows updating the graphics with the latest result on every reload.
Also, I prefer to set the Transfer Function Reset Mode by the Clamp and update every timestep option so that any scalar field be dynamically changing concerning the min/max range at the corresponding timestep, especially during the inspection stages.
