This article provides step-by-step instructions on installing Oracle VM VirtualBox 6.1.x binary package on a personal computer running on Microsoft Windows 10.
The instructions given should work for Windows 10 Home and Windows 10 Pro with both laptops and desktops inclusive.
Preparation
1: Get the latest VirtualBox 6.1.x platform package for Windows hosts from https://www.virtualbox.org/wiki/Downloads.
2: Also, download the Oracle VM VirtualBox Extension Pack of the corresponding release (a single file for All supported platforms).
3: Uninstall the previous VirtualBox if you had another version installed.
Setup & Initial Configuration
Base package
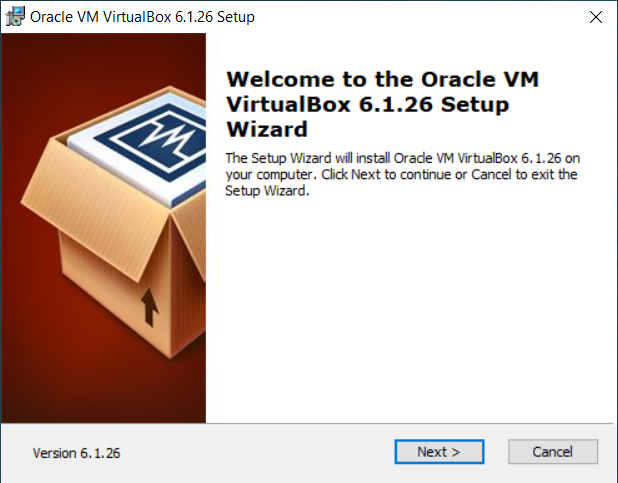
Run the '.exe' setup file as administrator. Click Next > to commence the Setup Wizard.
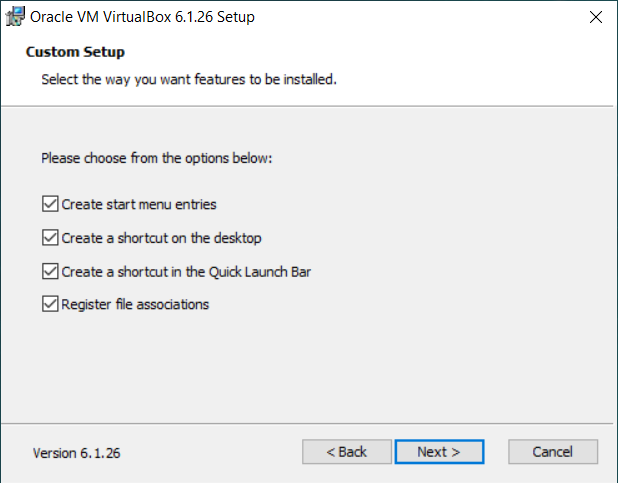
With the default configuration unchanged, click Next >.
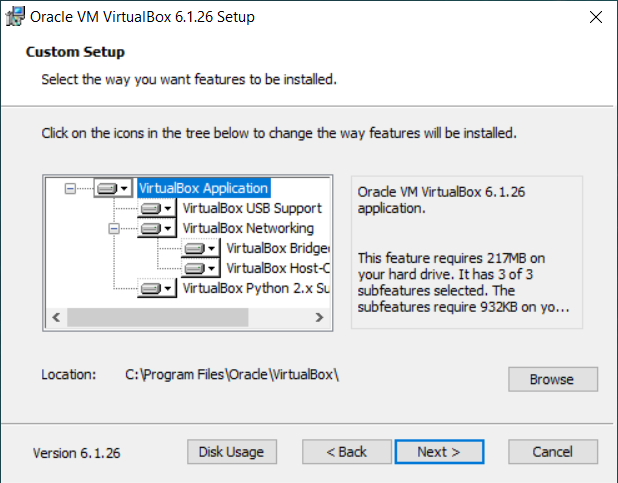
Leave the default selection of options, and click Next >.
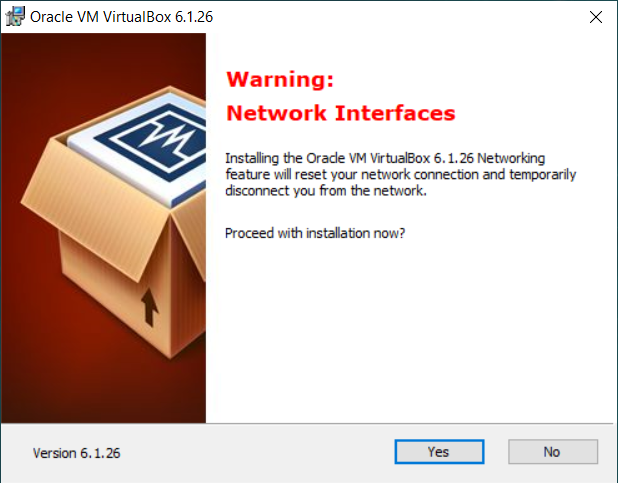
Click Yes — if a temporary interruption to your network connection is tolerable.
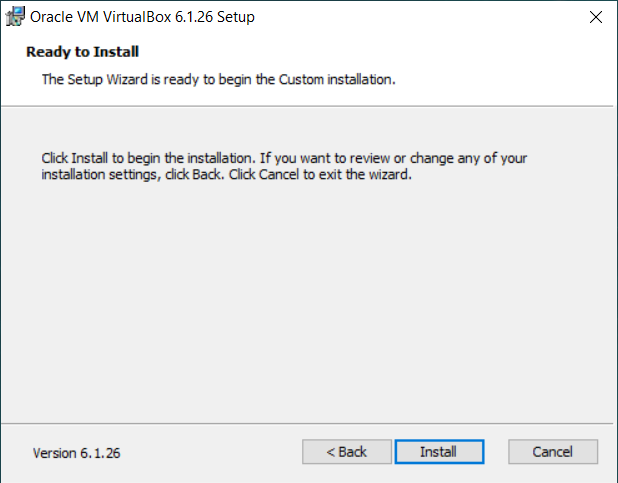
Click Install.
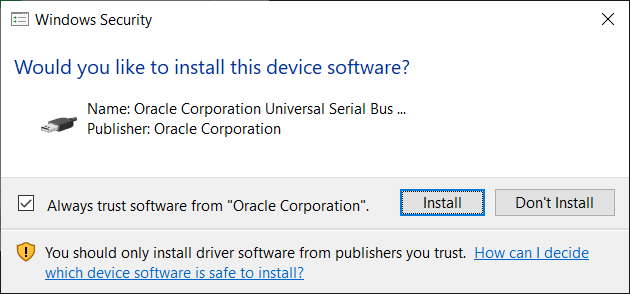
Confirm installing Oracle’s virtual devices via a Windows Security checkpoint (required once per system).
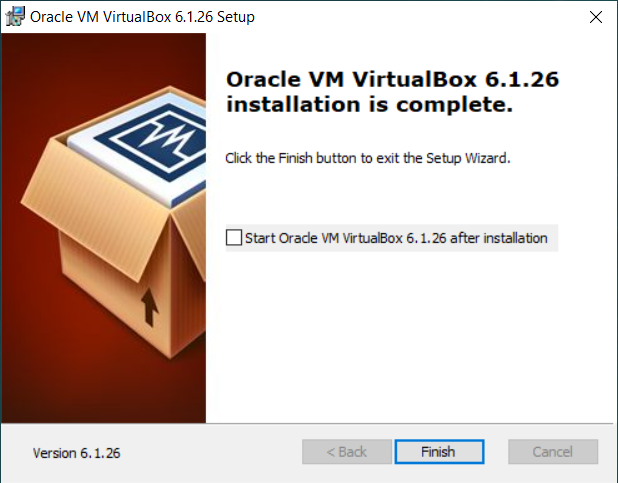
Tick off the Start Oracle VM VirtualBox option for now, and then click Finish.
Extension Pack
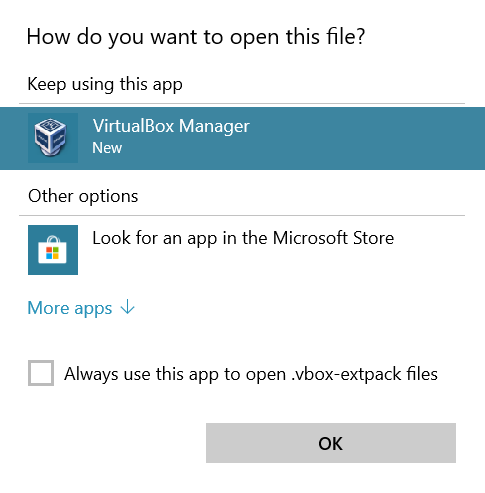
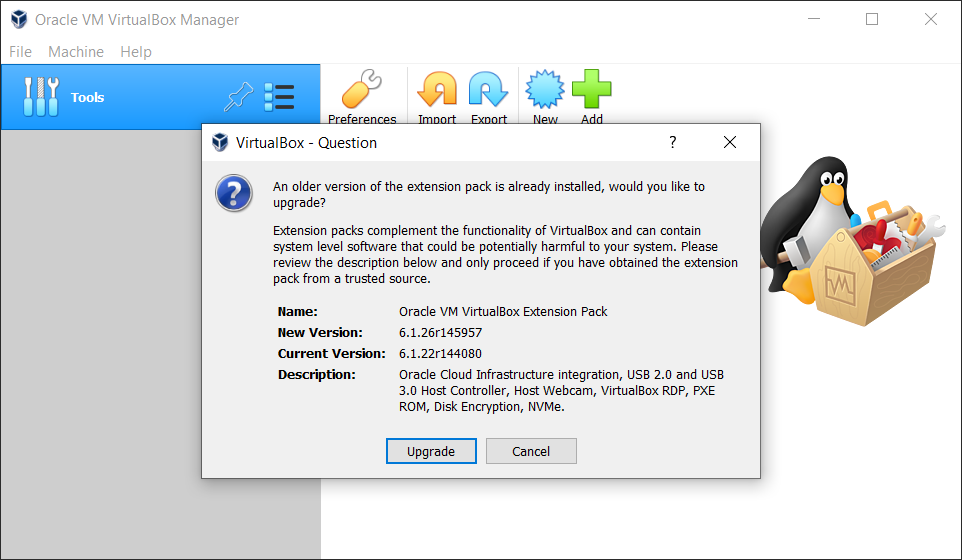
VirtualBox Extension Pack is a separate package providing added functionality to the core one. Right-click the downloaded extension pack file to select Open with… from File Explorer’s context menu. With the VirtualBox Manager selected, click OK to install — or upgrade if you had one installed already.
Click Install (or Upgrade) to proceed.
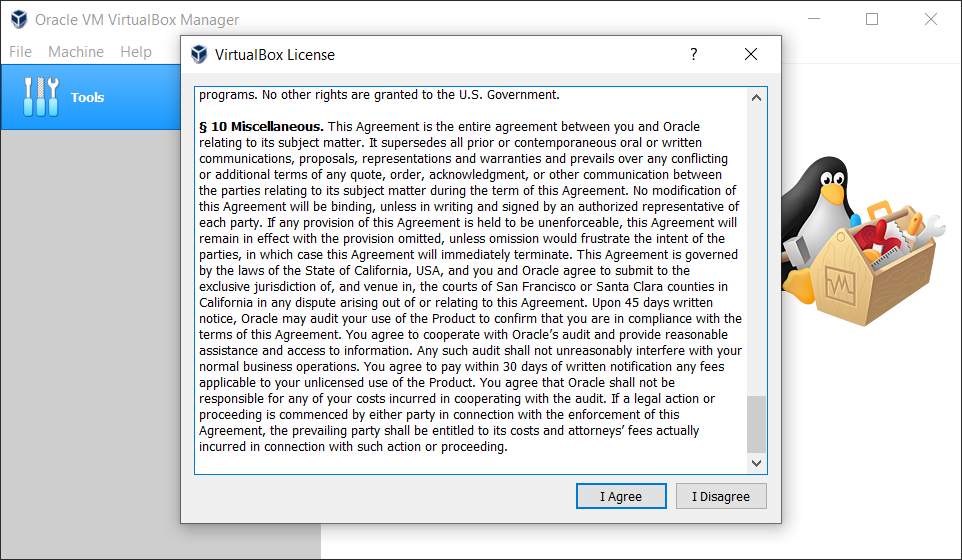
Read through the license information, and click I Agree — if you agree.
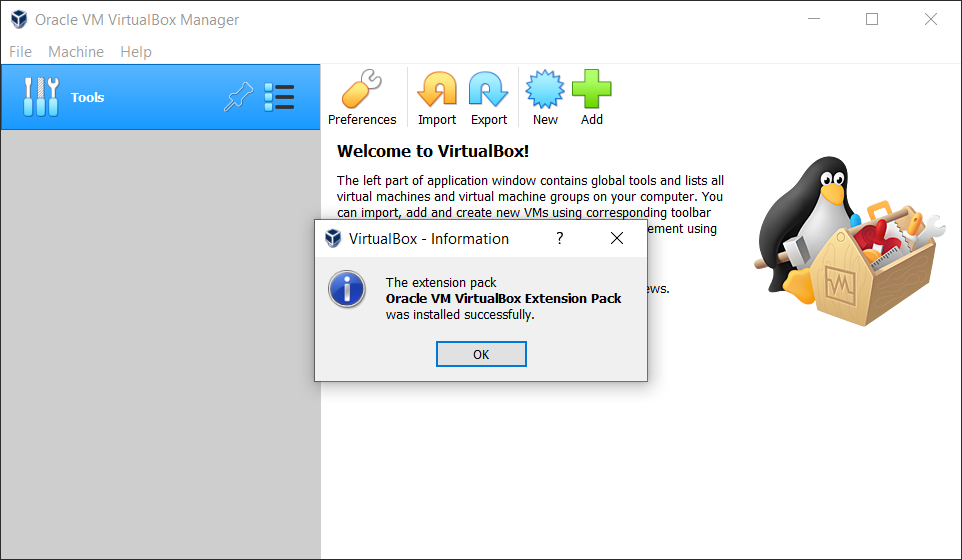
When the installation is complete, click OK to finish.
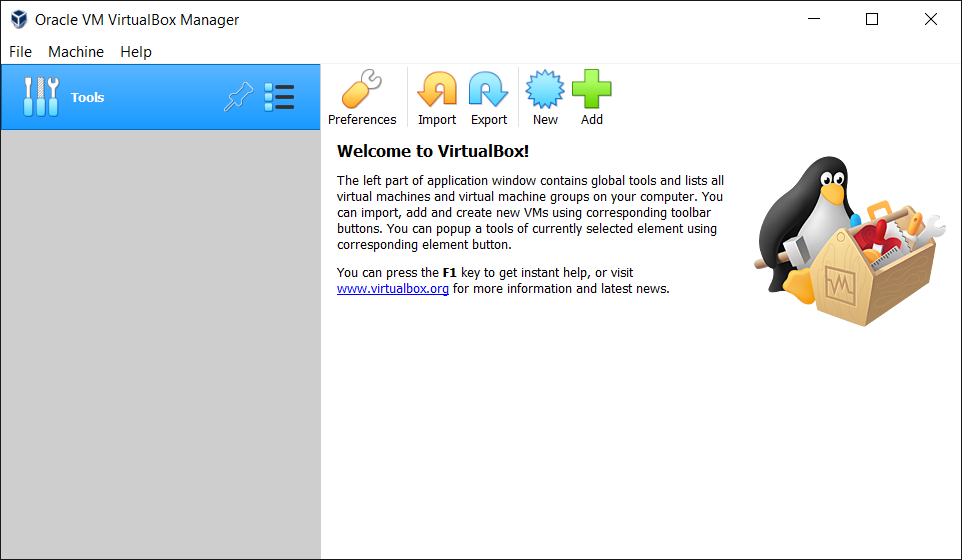
Welcome to VirtualBox! You may proceed to the post-installation configuration section.
Post-installation Configuration
Default machine folder
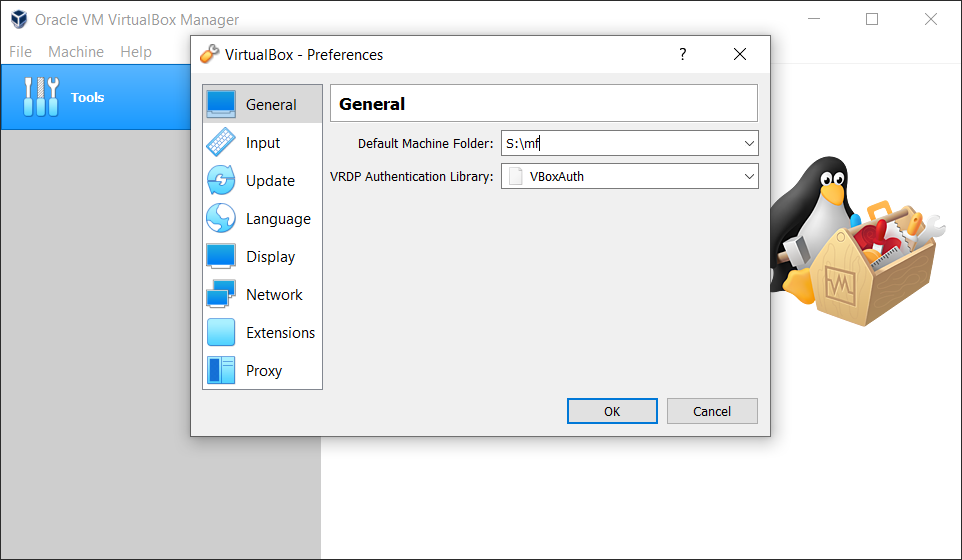
You are free to choose where to keep your virtual machine data. What follows is an example showing how to set a default machine folder.
1: From the VirtualBox Manager menu, select
2: Go to General to locate the Default Machine Folder entry. Browse set your desired folder destination (e.g. 'S:\mf'). Click OK to finish.
Host key combination
You would mostly use your virtual machine either in windowed mode (i.e. the default look) or in Full-screen mode. To switch between different windowing modes, you may do by visiting the View menu from your virtual machine window or using one of the following hotkeys:
-
Full-screen mode: Host-key+F
-
Scaled mode: Host-key+C
-
Seamless mode: Host-key+L
Note the default Host-key is your "right" Ctrl button, which may not function as expected (e.g. if you are using a non-US keyboard). If this applies to you, you better replace it with a more fail-safe combination such as "left" Ctrl+Shift.
1: From the VirtualBox Manager menu, select and go to Input.
2: Click the Virtual Machine tab to locate the Host Key Combination entry.
3: Left-click the cell under Shortcut, and press your left Ctrl and Shift keys simultaneously.

4: Click OK to finish.
Now you can switch to and from, for example, the Full-screen mode by pressing Ctrl+Shift+F.
Notes on Different Windowing Modes
You can resize your virtual machine display while working in the default windowed mode — like any other application windows — so you don’t have to elect the Scaled mode just for resizing. This scales everything in the screen up or down — like zooming in/out.
| Before resizing | After resizing | |
|---|---|---|
Default mode |
|
|
Scaled mode |
|
|
The Seamless mode is another interesting feature in which you can leave open, for example, Ubuntu application windows, with your Windows application windows side by side.
Novice users might get lost while using the Seamless mode, especially after closing down all the Ubuntu application windows from within the Windows Desktop environment (i.e. no controllable windows left). If this happens, do not worry and just:
-
Try to locate your virtual machine icon from Windows Taskbar, and left-click it once.
-
Press your Host-key+L to switch back, or Host-key+F to turn to Full-screen mode.
Troubleshooting
Cannot register the DVD image error
If you happen to get this error:
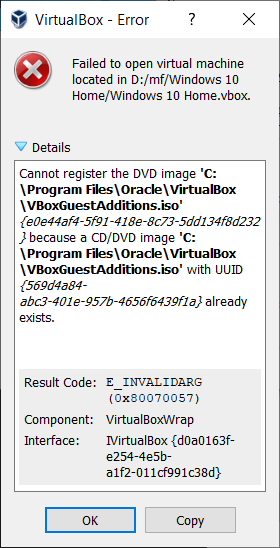
Using a text editor (e.g. Notepad++ or SciTE), open the .'vbox' file from the corresponsing virtual machine folder to locate the following lines:
<DVDImages>
<Image uuid="{e0e44af4-5f91-418e-8c73-5dd134f8d232}" location="C:/Program Files/Oracle/VirtualBox/VBoxGuestAdditions.iso"/>
</DVDImages>
Delete the content between <DVDImages> and </DVDImages> as in:
<DVDImages>
</DVDImages>
Save and close the text editor, and then try launching again your virtual machine.