This article provides step-by-step instructions on setting up a Ubuntu 20.04 subsystem on a personal computer running on Microsoft Windows 10 via Windows Subsystem for Linux (aka WSL).
The instructions given should work for Windows 10 Home and Windows 10 Pro with both laptops and desktops inclusive.
WSL & Ubuntu Distro
Activating WSL feature
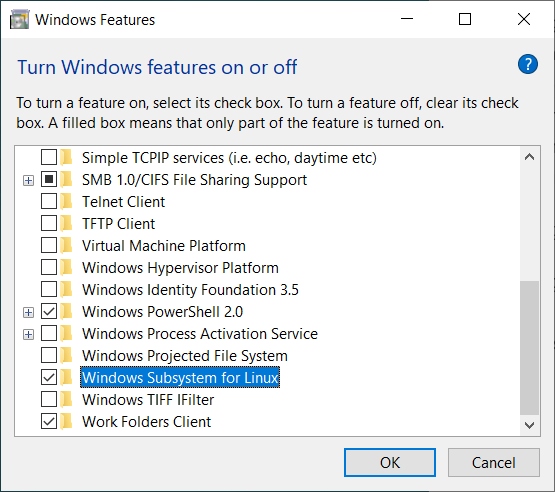
To use WSL, you first need to activate it from the Windows Features.
1) Type a few first characters of "turn windows features …" from Windows Search and press Enter as soon as it picks up the Turn Windows features on or off shortcut.
2) Tick on the Windows Subsystem for Linux feature, and then click OK. After having made the requested change, click Restart now.
Ubuntu packaging for WSL
Once the WSL feature is enabled, you can install any available distributions of Linux as subsystems. Canonical, the publisher of Ubuntu, adds every Long Term Support (LTS) release of Ubuntu to the Microsoft Store.
Launch Microsoft Store and search for Ubuntu. You will find three (3) candidates for your choice:
-
Ubuntu 20.04 LTS: the current LTS distribution (released on 23 April 2020)
-
Ubuntu 18.04 LTS: the previous LTS distribution (released on 26 April 2018)
-
Ubuntu: This is an "unnumbered" packaging aiming to provide the latest LTS release — equivalently same as the 20.04 LTS.
In this article, we will be using the unnumbered version. This option will give us room for release upgrades whenever applicable.
Installing Ubuntu WSL
Launch Microsoft Store, get the package by clicking the Get and then Install. When downloading is complete, close down Microsoft Store.
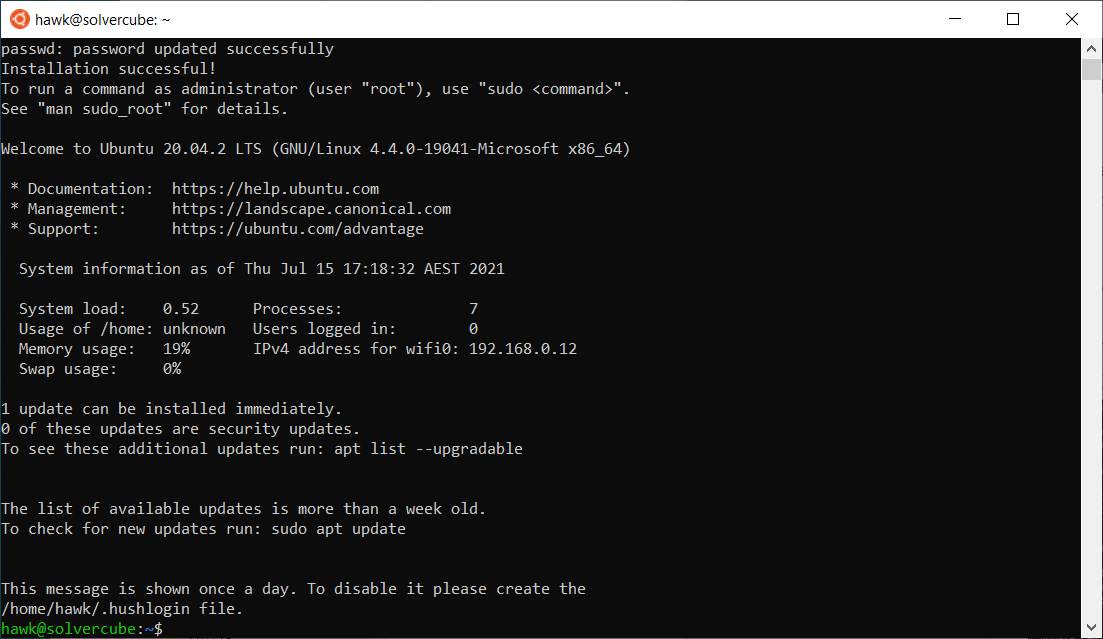
Go to Windows Start and select Ubuntu. It will open a terminal window finalising the remaining setup process. When it is ready, register a username and a password for your Ubuntu Subsystem.
You may check the release information by entering:
$ lsb_release -a (1)
| 1 | The prompt symbol $ indicates that you are typing at the WSL terminal. |
No LSB modules are available.
Distributor ID: Ubuntu
Description:    Ubuntu 20.04.2 LTS
Release:        20.04
Codename:       focal
and the current kernel information:
$ uname -r
4.4.0-19041-Microsoft
Perform system update — and system upgrade if applicable:
$ sudo apt update
$ sudo apt upgrade
To exit from the Ubuntu Subsystem, type exit and press Enter — or click the window close button (x).
To start it again, select Ubuntu from Windows Start. You have better pin the application icon to the Taskbar if using it daily basis.
|
Where Is HOME?
When you start your Ubuntu Subsystem, it will open a terminal in your Ubuntu user’s HOME directory.
$ pwd
/home/hawk
Windows file system places this folder deep down under your Windows user directory, and it can stay intact by usual operating actions from the Windows side.
C:\Users\hawk\AppData\Local\Packages\CanonicalGroupLimited.UbuntuonWindows_79rhkp1fndgsc\LocalState\rootfs\home\hawk
Nevertheless, your Windows file system (e.g. 'C:') is accessible from within the subsystems — i.e. via the '/mnt/c' directory. So, you ought to be very careful in running a Linux command which might harm the data stored in the Windows file system. For example, you might accidental run the rm -rf command with your Windows file path included recursively.
To prevent any unfortunate incident, I prefer to utilise a work folder on an external disk — i.e. separated from my local Windows file system. In this article, I prepared a shared work folder, 'S:\sf', in an NTFS-formatted SSD. I then created a symbolic link so that it is directly accessible from my Ubuntu Subsystem.
$ sudo ln -s /mnt/s/sf sf
$ cd ~/sf
$ pwd
/home/hawk/sf
Ubuntu Workspace
Java Runtime Environment
Java is a popular programming language for developing server and desktop applications, typically using the Java Development Kit (JDK). If you merely intend to run Java programs on your subsystem, you may be sufficient to have a version of Java Runtime Environment (JRE) installed.
First, check whether you already have the system-packaged version of JRE installed:
$ java -version
Command 'java' not found, but can be installed with:

sudo apt install openjdk-11-jre-headless  # version 11.0.11+9-0ubuntu2~20.04, or
sudo apt install default-jre              # version 2:1.11-72
sudo apt install openjdk-13-jre-headless  # version 13.0.7+5-0ubuntu1~20.04
sudo apt install openjdk-14-jre-headless  # version 14.0.2+12-1~20.04
sudo apt install openjdk-16-jre-headless  # version 16.0.1+9-1~20.04
sudo apt install openjdk-8-jre-headless   # version 8u292-b10-0ubuntu1~20.04
If JRE is not installed on your system, use the following command to install it:
$ sudo apt install default-jre
You may check the installation by the version:
$ java -version
openjdk version "11.0.11" 2021-04-20
OpenJDK Runtime Environment (build 11.0.11+9-Ubuntu-0ubuntu2.20.04)
OpenJDK 64-Bit Server VM (build 11.0.11+9-Ubuntu-0ubuntu2.20.04, mixed mode, sharing)
Notes on interoperability
WSL’s interoperability feature makes it possible to launch Windows programs directly from your Ubuntu Subsystem — and vice versa. You can, for example, run Ubuntu binaries of OpenFOAM from a WSL terminal and post-process the result using Windows' ParaView (You need to add the path to ParaView’s executables to your Windows PATH variable). It becomes possible because both systems share each other’s environment variables. You can visit docs.microsoft.com for more information.
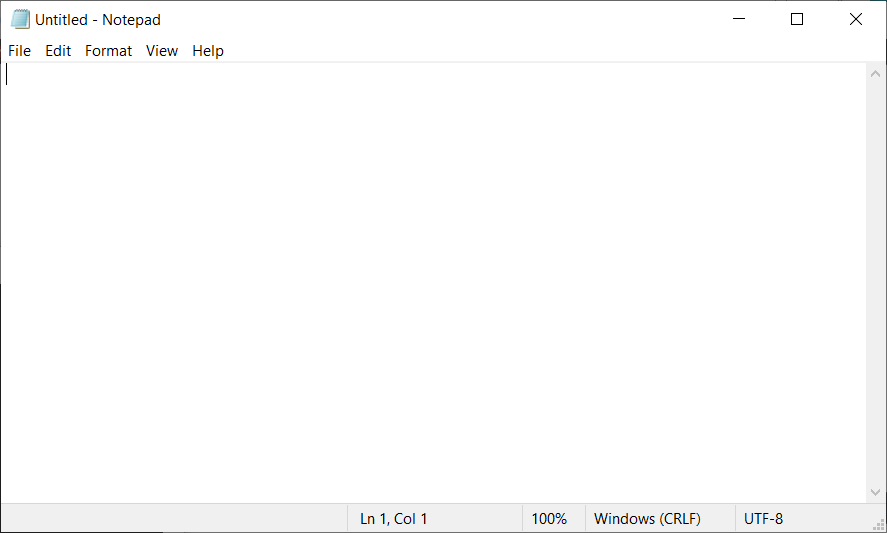
For example, start a WSL terminal and try launching Windows Notepad by entering:
$ notepad.exe (1)
| 1 | Make sure to type the '.exe' extension. |
While your WSL terminal is open, let us install the Nano editor for your Ubuntu Subsystem:
$ sudo apt install nano
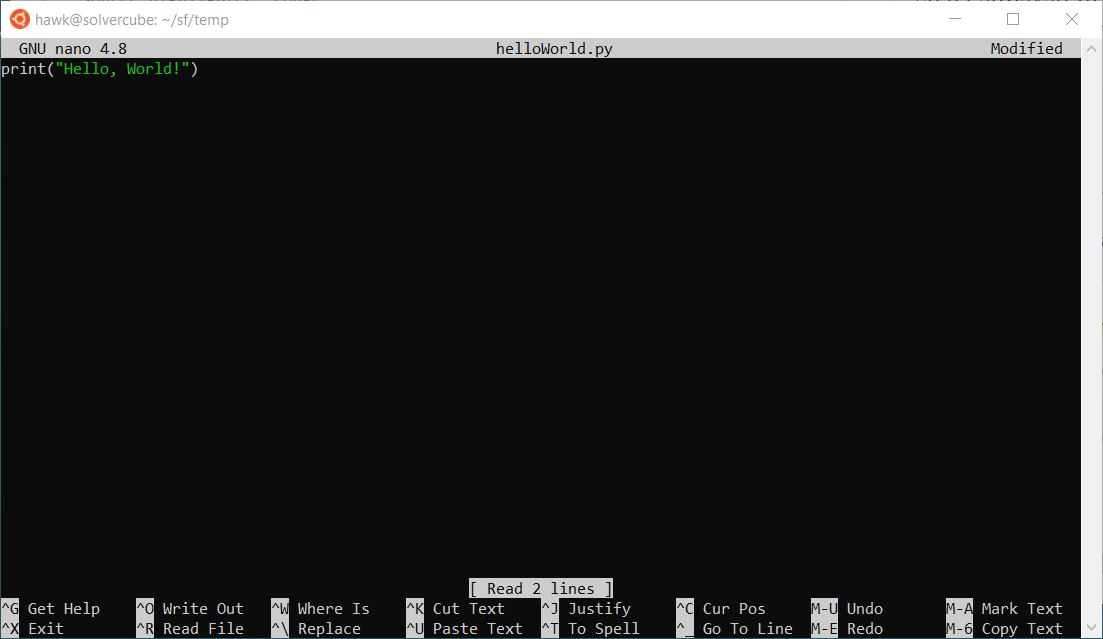
Now, create a dummy file (e.g. 'helloWorld.py') using touch and open it with nano:
$ touch helloWorld.py
$ nano helloWorld.py
Type a simple line referring to the below example, save it by pressing Ctrl+S, and then exit by Ctrl+X:
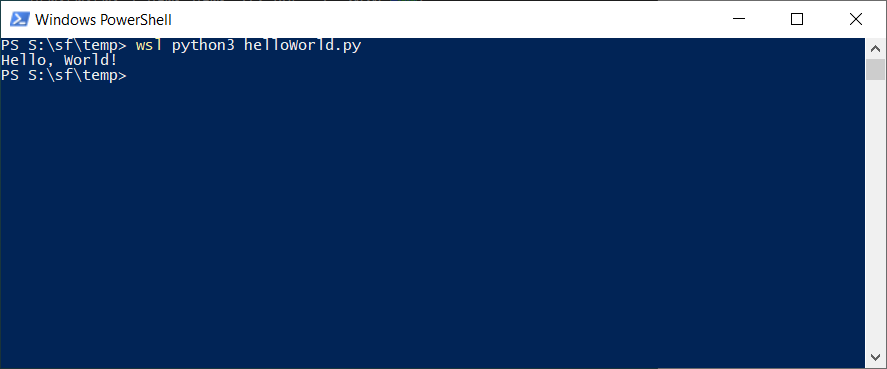
Now, launch a PowerShell terminal from the work folder, and run the Python script using the Ubuntu Subsystem’s Python executable (make sure to add the wsl command prefixed):
| You would wonder why we didn’t use Notepad to create the above script file. Try to avoid using Notepad for editing any text for Linux due to the difference in handling the end-of-line object between Windows (it uses CRLF) and Linux (uses LF). |
Simple graphics using VcXsrv
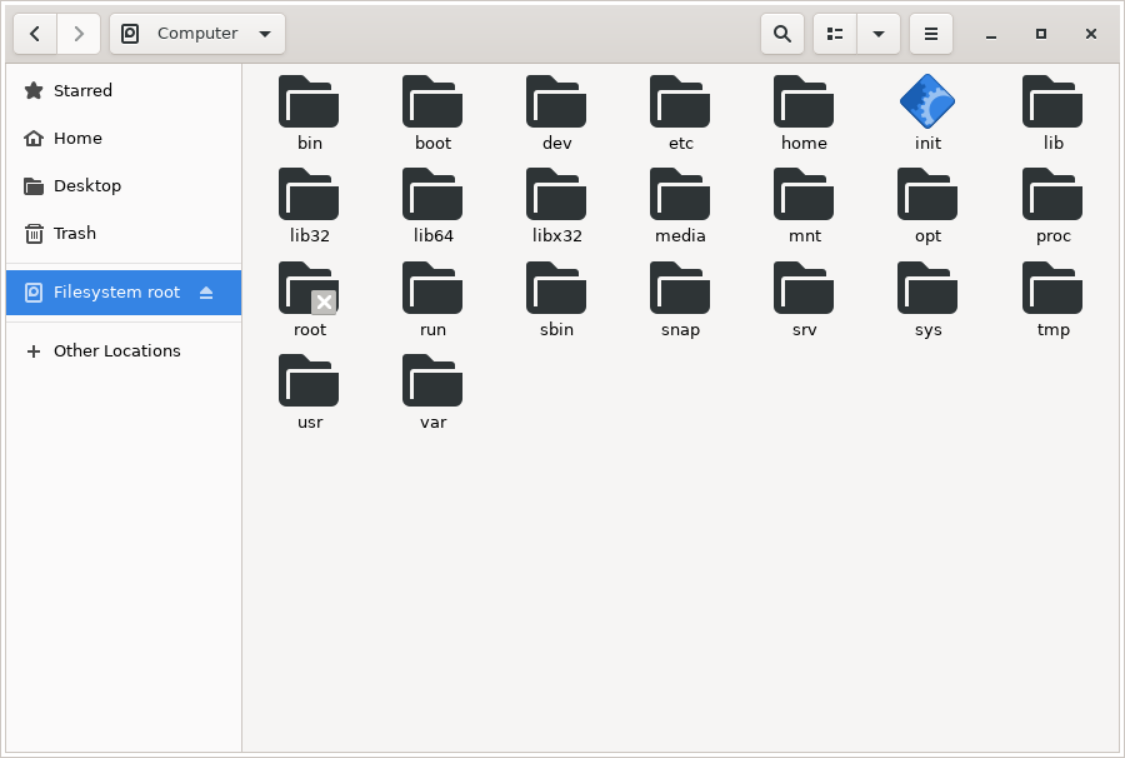
WSL is by design a text-based operating environment for running command-line Linux programs. But you can launch simple graphical applications — such as Gnuplot or Nautilus File Manager — using X-server software for Windows.
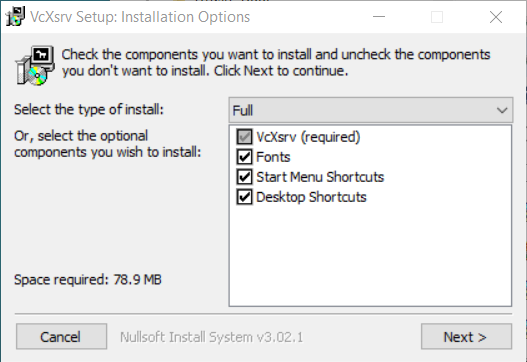
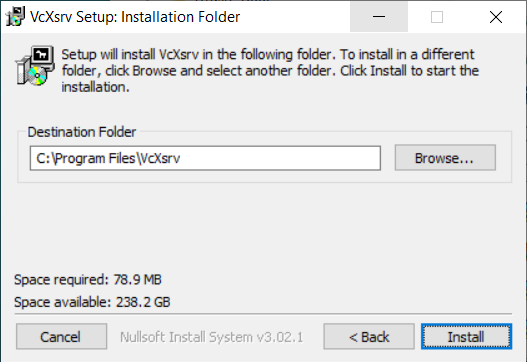
Here, we are going to use VcXsrv Windows X Server.
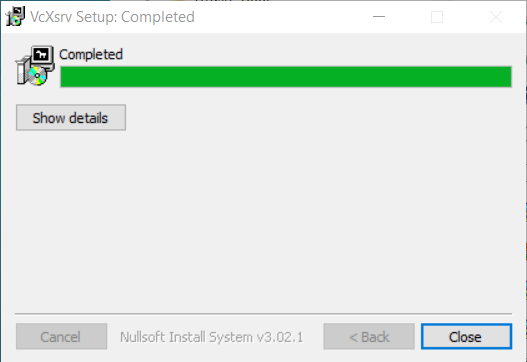
1) Get the latest VcXsrv from https://sourceforge.net/projects/vcxsrv/, and run the setup '.exe' file as administrator.
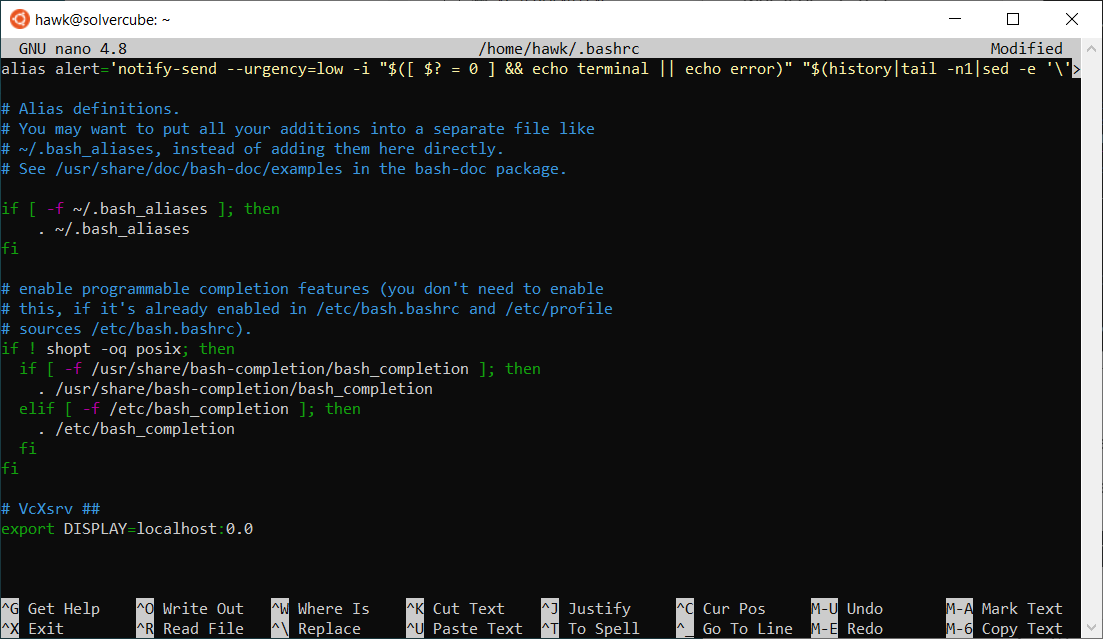
2) Start Ubuntu WSL, and open your '~/.bashrc' file using Nano:
$ nano ~/.bashrc
3) Place your keyboard cursor at the bottom of the '~/.bashrc' file using the keyboard ▼ key. Grab the below content with your mouse to copy it to the clipboard — i.e. using right-click context menu — or by pressing Ctrl+C:
# VcXsrv ##
export DISPLAY=localhost:0.0
4) Click the WSL terminal window once (to activate it), and then right-click to paste the content from the clipboard. Press Ctrl+S to save, then Ctrl+X to exit from the Nano editor.
5) Reread your '~/.bashrc' configuration using the source command:
$ source ~/.bashrc
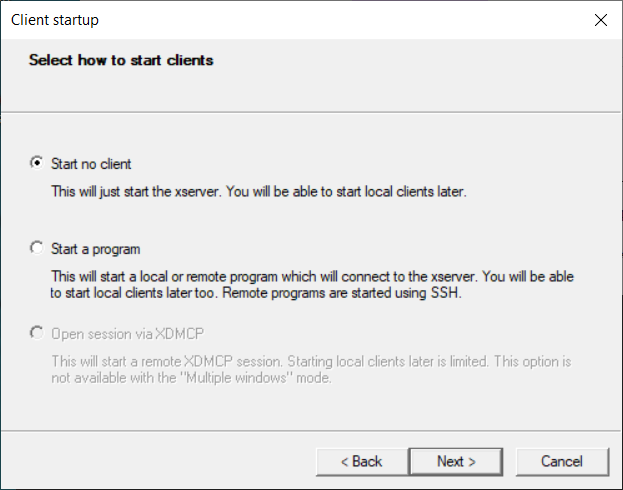
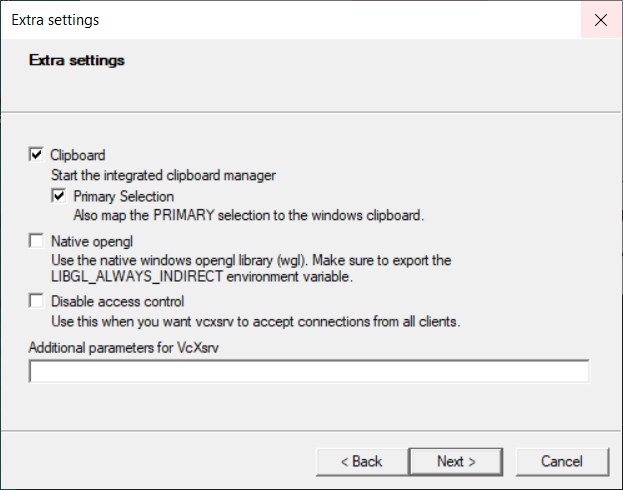
Select VcXsrv → XLaunch from Windows Start (or double-click the XLaunch icon from the Desktop screen). Keep most of the default options — except in the Extra settings page, where you turn off the Native opengl option.

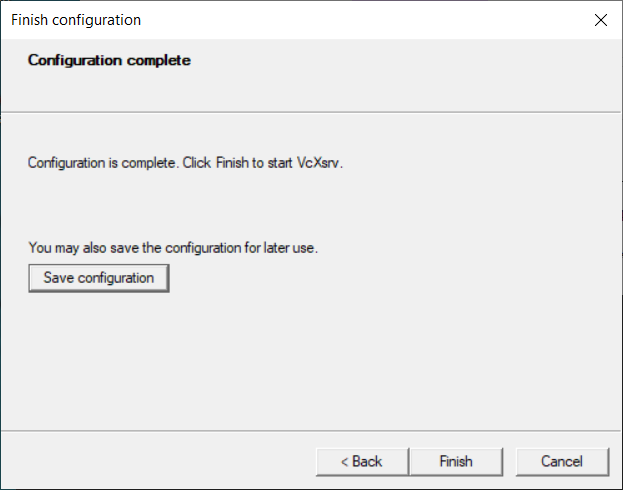
| You may have to allow for VcXsrv to communicate through your network firewall. |
You can save the current configuration to a file and pin it — i.e. the 'config.xlaunch' link created in your 'Documents' folder — to Windows Taskbar for easier access. To pick a saved configuration, you need to "right-click" the config.xLaunch icon from the Taskbar.
|
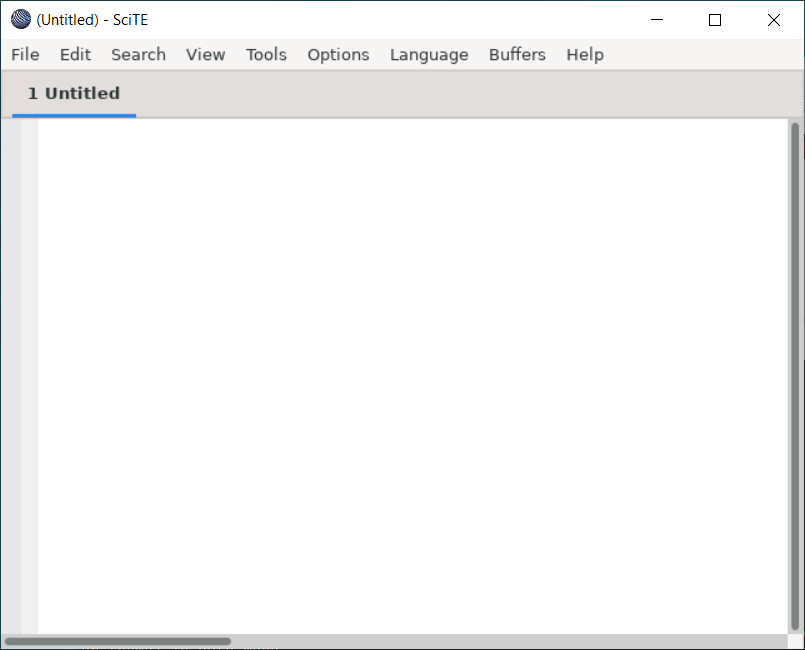
With VcXsrv up and running, start a WSL terminal and let us install and launch SciTE as a check, a lightweight GUI text editor similar to Notepad++.
$ sudo apt install scite
$ scite &
Disabling terminal bell sound
If you were like me, you would want to disable the rather annoying bell sound ringing frequently.
To disable the bell sound, add the below content to your '~/.inputrc' file (create one if it doesn’t exist) [1]:
# Disabling terminal bell sound
set bell-style none
or copy and paste the following command block to the terminal window:
echo '# Disabling terminal bell sound
set bell-style none
' >> ~/.inputrc
(1)| 1 | An extra blank line is intended for the last command line to be parsed on pasting. |